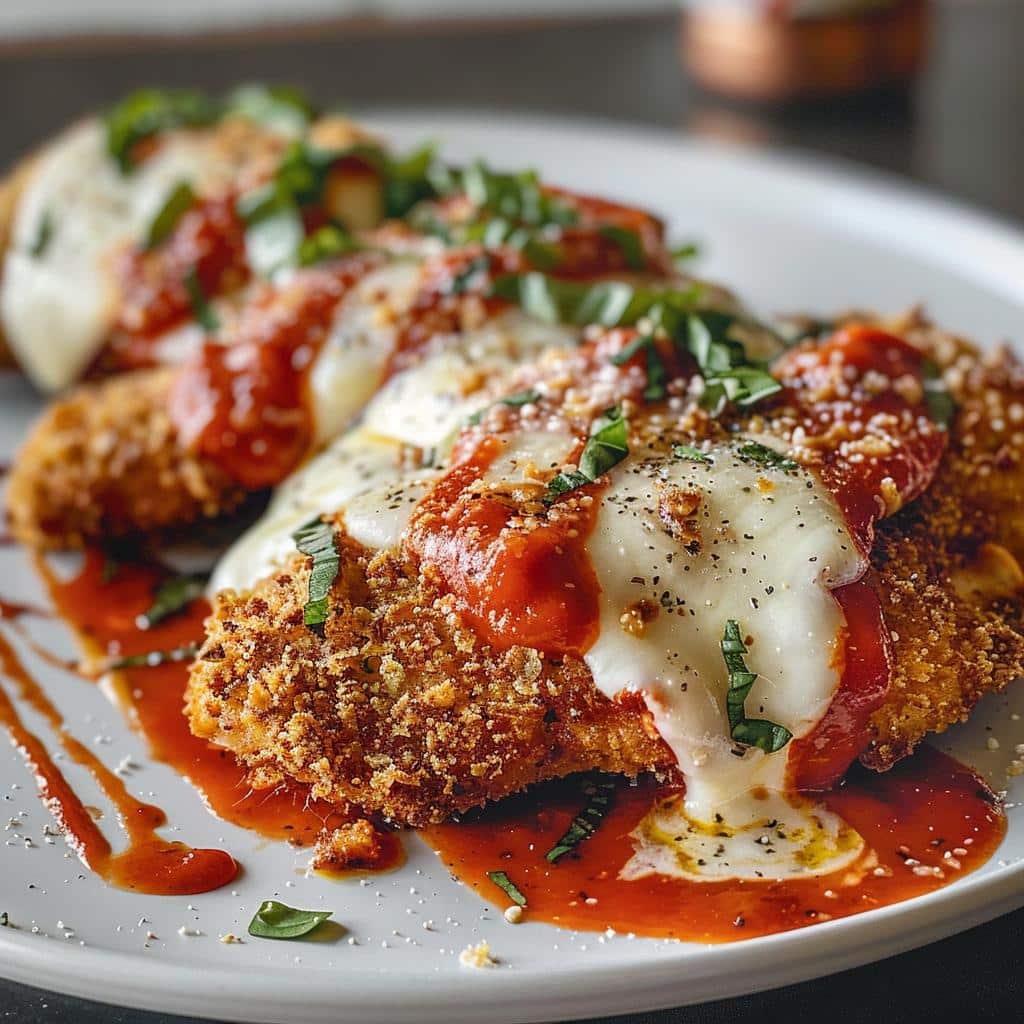
Crispy, Cheesy & Never Soggy: The Ultimate Chicken Parm Secrets
Chicken Parmesan. The very name conjures images of golden-fried cutlets, bubbling cheese, and rich tomato sauce. It’s a dish that transcends culinary divides, universally beloved for its comforting qualities and irresistible combination of textures and flavors. Yet, for many home cooks and restaurant patrons alike, the dream of a perfectly crispy, cheesy chicken parm often ends in disappointment: a soggy, sauce-drenched affair where the once-crisp breading has surrendered to a mushy fate. But what if we told you that the ultimate chicken parmesan – one that boasts an audibly crisp crust, a luxurious meld of cheeses, and a sauce that enhances rather than overwhelms – is not only achievable at home, but often superior to what you’ll find in most eateries? This article will unlock the secrets to a truly transcendent chicken parmesan, guaranteeing every bite is a harmonious symphony of flavor and texture.
Beyond the Restaurant Standard: Why Homemade Wins
There's a reason your guide to perfect homemade chicken parm often surpasses restaurant offerings. Many Italian-American restaurants, in their pursuit of abundance, tend to drown their chicken parmesan in an excessive amount of sauce and cheese. While delicious in theory, this generosity often leads to a major textural flaw: sogginess. The carefully breaded and fried chicken cutlet, meant to provide a satisfying crunch, becomes a mere afterthought, lost beneath a weighty blanket of ingredients. The key to our superior method lies in strategic application and a nuanced approach to ingredients, ensuring the integrity of each component shines through. Prepare to create a chicken parmesan that is fatty, umami-rich, and delivers that perfect crispy and melt-in-your-mouth texture.
The Foundation of Flavor: Prepping Your Chicken for Success
The journey to perfect chicken parmesan begins long before the sauce hits the pan. Proper chicken preparation is paramount for even cooking and optimal texture.
- Pound it Out Evenly: Start with boneless, skinless chicken breasts. The goal is uniformity. Place a breast between two sheets of plastic wrap and pound it with a meat mallet (or a heavy-bottomed pan) until it's about 1/2-inch thick all over. This isn't just about tenderness; it ensures the chicken cooks evenly and quickly, preventing some parts from drying out while others remain undercooked. Even thickness is crucial for that perfect golden crisp.
- Don't Skimp on Seasoning: A common mistake is undersalting. Season your chicken breasts generously with salt and freshly ground black pepper on both sides *before* breading. This foundational seasoning ensures the chicken itself is flavorful, not just the coating. There's no need to salt your flour or breadcrumbs if your chicken is well-seasoned.
- Rest Before the Fry: After breading, let your chicken cutlets rest on the counter for about 15 minutes. This seemingly small step is a game-changer. It allows the moisture from the chicken to redistribute and the breading to adhere more firmly. This helps prevent the coating from falling off during frying, guaranteeing a more complete and satisfying crunch.
The Crispy Coating Conundrum: Mastering the Breading
The breading is arguably the most critical element for achieving that coveted crispness. Forget flimsy, traditional breadcrumbs; we're elevating the game.
- Panko is Your Powerhouse: Ditch standard breadcrumbs for panko. Panko breadcrumbs are Japanese-style breadcrumbs with a larger, flakier, and airier texture. This structure creates more surface area for crisping and absorbs less oil, resulting in a much lighter, crunchier crust that stays crispy longer.
- Parmesan in the Mix: Here's a secret weapon for boosting flavor and crunch: incorporate finely grated Parmesan cheese directly into your panko breadcrumbs. The nutty, salty notes of the Parmesan infuse the crust with an extra layer of umami. As the chicken fries, the Parmesan in the breading will also crisp up beautifully, adding an irresistible textural dimension.
- The Breading Station Setup: For efficiency and maximum coverage, set up a classic three-station breading assembly:
- Flour: Seasoned with a pinch of salt and pepper (if desired, but focus on chicken seasoning). Dredge the chicken, shaking off any excess.
- Eggs: Whisked well with a splash of milk or water. Dip the floured chicken, ensuring it's fully coated.
- Panko-Parmesan Blend: Press the chicken firmly into the breadcrumb mixture, ensuring every inch is covered. Don't be shy; really pack it on.
- Frying to Golden Perfection: Once breaded and rested, pan-fry the chicken in a neutral oil (like canola or grapeseed) over medium-high heat until deeply golden brown and crispy on both sides. This initial fry develops the crust and cooks the chicken most of the way through. Remember, you're not fully cooking the chicken at this stage, just getting that beautiful color and crispness.
The Sauce & Cheese Strategy: Less is More for Perfection
This is where many restaurant versions fall short. To prevent sogginess while still delivering on flavor, a strategic approach to sauce and cheese is essential. It's time to end soggy chicken parm: achieve the crispiest homemade recipe.
- The "Under" Rule: Crucially, do not put sauce under your chicken cutlets on the baking pan. Placing sauce beneath the chicken traps moisture, guaranteed to turn your crispy crust into a sad, damp mess.
- A Whisper of Sauce On Top: Instead, after transferring your golden-fried cutlets to a baking pan, apply just a little bit of your favorite marinara sauce directly on top of each piece. This allows the breading to remain crisp while still infusing the chicken with that classic tomato flavor. If you're a sauce fanatic, simply serve extra sauce warm on the side for dipping!
- The Triple Cheese Threat: Most chicken parmesan recipes rely solely on mozzarella, which is fine, but we can do better. Elevate your cheese game with a blend of three:
- Fresh Mozzarella: Known for its superior melt, creamy texture, and milky flavor.
- Tangy Provolone: Adds a delightful sharpness and depth of flavor that complements the richness of the chicken and sauce.
- Real Parmesan: Not just for the breadcrumbs! Sprinkle some freshly grated Parmesan over the mozzarella and provolone. Its nutty, salty, umami notes tie all the flavors together beautifully and contribute to a fantastic browned crust.
- Aromatic Herbs: Finish with a sprinkle of fresh herbs like basil or parsley for a burst of freshness and color.
The Grand Finale: Baking to Golden Perfection
The final stage is all about melting the cheese, finishing the chicken's cook, and achieving that irresistible golden-brown crust on top.
- Hot, Hot, Hot Oven: Preheat your oven to a blistering 450°F (230°C). A high temperature is absolutely key. It ensures the cheese melts and browns quickly, creating that delicious bubbly crust, without overcooking the chicken and drying it out. The high heat also helps to re-crisp any parts of the breading that might have softened slightly.
- Bake Until Bubbly: Transfer your assembled chicken parmesan to the scorching hot oven and bake for 8-12 minutes, or until the cheese is gloriously melted, bubbly, and has begun to brown, and the chicken is cooked through (an internal temperature of 165°F or 74°C).
There you have it. No longer will you settle for a soggy, underwhelming experience. By embracing these strategic steps – from evenly pounded chicken and a superior panko-Parmesan crust to a thoughtful sauce and cheese application, culminating in a searing hot oven finish – you are now equipped to create the ultimate chicken parmesan. It’s a dish that respects its components, celebrating the crunch of the breading, the tang of the sauce, and the creamy, savory medley of cheeses. So go forth, embrace the culinary challenge, and savor every crispy, cheesy, never-soggy bite of your homemade masterpiece.
